서비스를 운영하다보면, 요구사항이 추가되거나 변경되는 경우가 많다. 그리고 어떤 환경에서 개발을 하더라도 테스트를 하던 코드를 실수로 커밋하거나 다양한 실수를 할 수 있다. 이를 해결하는 것이 테스트 코드를 미리 작성하여, 테스팅을 하며 개발하는 것인데 TDD에 대한 짧고 명확한 개념과, Nextjs에서 hooks과 testing-library/react와 Mobx와 TypeScript를 사용해본 방법을 작성해보았다.
TDD
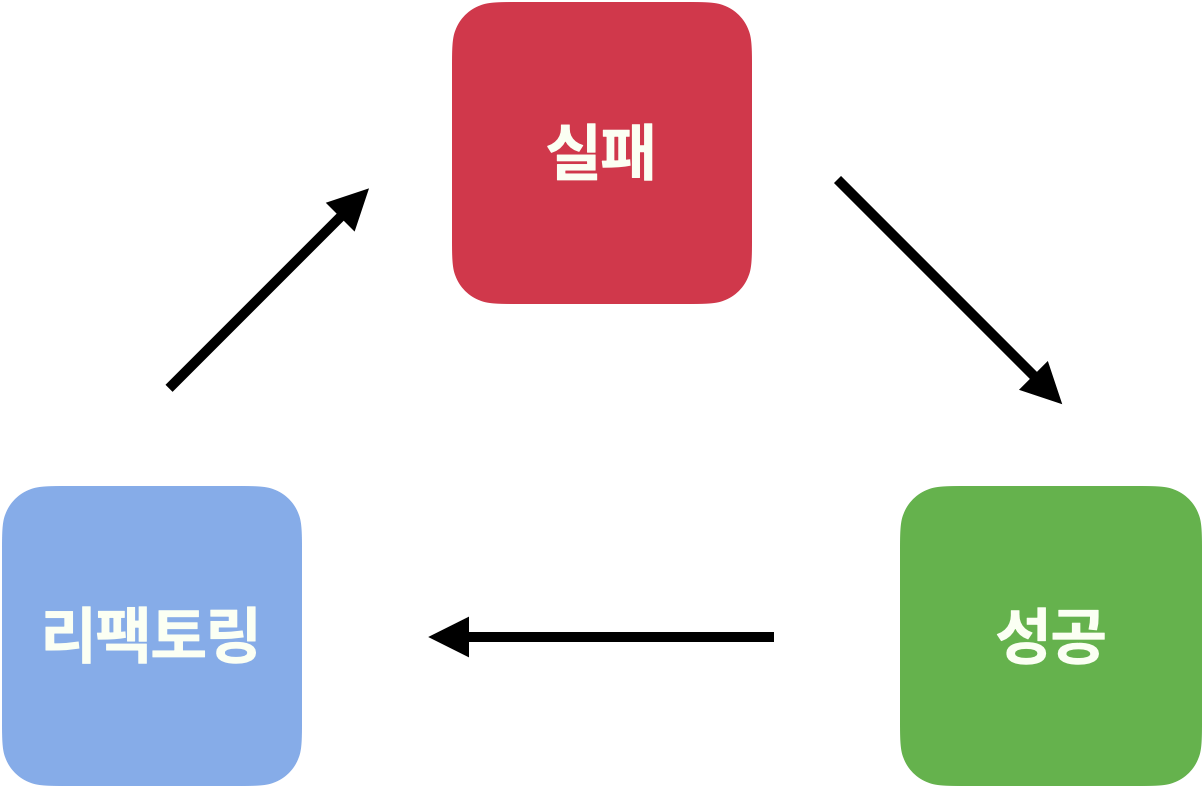
실패
개발 시작 전부터 테스트코드를 먼저 작성하여,
성공
테스트코드에 의한 테스트를 진행하면서 개발하고 성공을 이루어내고,
리팩토링
성공 후 개선할 수 있는 부분은 최대로 개선하면서 그 도중에도 테스트를 한다.
install and setting
npm install --save-dev jest jest-environment-jsdom @testing-library/react @testing-library/jest-dom// jest.config.js
const nextJest = require('next/jest');
const { pathsToModuleNameMapper } = require('ts-jest');
const { compilerOptions } = require('./tsconfig.paths.json');
const createJestConfig = nextJest({
// Provide the path to your Next.js app to load next.config.js and .env files in your test environment
dir: './',
});
// Add any custom config to be passed to Jest
const customJestConfig = {
preset: 'ts-jest',
moduleNameMapper: pathsToModuleNameMapper(compilerOptions.paths, { prefix: '<rootDir>/src/' }),
// Add more setup options before each test is run
// setupFilesAfterEnv: ['<rootDir>/jest.setup.js'],
// if using TypeScript with a baseUrl set to the root directory then you need the below for alias' to work
moduleDirectories: ['node_modules', '<rootDir>/'],
testEnvironment: 'jest-environment-jsdom',
collectCoverage: true,
// on node 14.x coverage provider v8 offers good speed and more or less good report
coverageProvider: 'v8',
collectCoverageFrom: [
'**/*.{js,jsx,ts,tsx}',
'!**/*.d.ts',
'!**/node_modules/**',
'!<rootDir>/out/**',
'!<rootDir>/.next/**',
'!<rootDir>/*.config.js',
'!<rootDir>/coverage/**',
],
// Add more setup options before each test is run
// setupFilesAfterEnv: ['<rootDir>/jest.setup.js'],
testPathIgnorePatterns: ['<rootDir>/node_modules/', '<rootDir>/.next/'],
transform: {
// Use babel-jest to transpile tests with the next/babel preset
// https://jestjs.io/docs/configuration#transform-objectstring-pathtotransformer--pathtotransformer-object
'^.+\\.(js|jsx|ts|tsx)$': ['babel-jest', { presets: ['next/babel'] }],
},
transformIgnorePatterns: ['/node_modules/', '^.+\\.module\\.(css|sass|scss)$'],
};
// createJestConfig is exported this way to ensure that next/jest can load the Next.js config which is async
module.exports = createJestConfig(customJestConfig);./tsconfig.paths.json
{
"compilerOptions": {
"baseUrl": "./src",
"paths": {
"~": ["./"],
"~/*": ["./*"],
"@components": ["./components"],
"@components/*": ["./components/*"],
...
}
}}위는 ./src 를 기본 디렉터리로 사용하고, 절대경로 별칭을 사용할 경우 사용한다.
rtn + mobx
// Component.test.tsx
it('matches snapshot', () => {
    const store = new Store();
    const utils = render(
      <Provider store={store}>
        <Component /> // 테스트할 컴포넌트
      </Provider>,
    );
    expect(utils.container).toMatchSnapshot();
  });
// useStore.ts
import React from 'react';
import { MobXProviderContext } from 'mobx-react';
import { Store } from '@stores/type';
function useStore(store: keyof Store) {
return React.useContext(MobXProviderContext)[store];
}
export default useStore;// Components.tsx
function Component() {
const store = useStore('store');
return (
<div>
{store}
</div>
);
}
export default observer(Component);기존 코드에서 inject로 store을 가져와 사용하였는데, 컴포넌트에서 사용하려니 컴포넌트의 props와 스토어의 props에 관련된 문제가 있어 useStore이라는 커스텀 훅을 만들어 가져와 사용하게 되었다.
참고:
벨로퍼트와 함께하는 리액트 테스팅
learn-react-test.vlpt.us
Testing | Next.js
Learn how to set up Next.js with three commonly used testing tools — Cypress, Playwright, Jest, and React Testing Library.
nextjs.org
'프론트엔드 > React | Next' 카테고리의 다른 글
| SSR 서비스에서 반응형 웹 개발 이야기(SSR이 필요한 이유) (0) | 2022.10.01 |
|---|---|
| nextjs 다국어, 로컬라이제이션(localization) 지원하기 next-i18next 사용 (0) | 2022.08.28 |
| nextjs에서 원하는 키워드로 구글검색 상위노출시키기 (0) | 2022.08.07 |
| [React] 스무스한 가로스크롤 버튼 (0) | 2022.02.23 |
| React 웹 계산기 만들기 (0) | 2020.05.13 |
'프론트엔드/React | Next'의 다른글
- 현재글Nextjs에서 React Testing Library + Mobx 사용하기